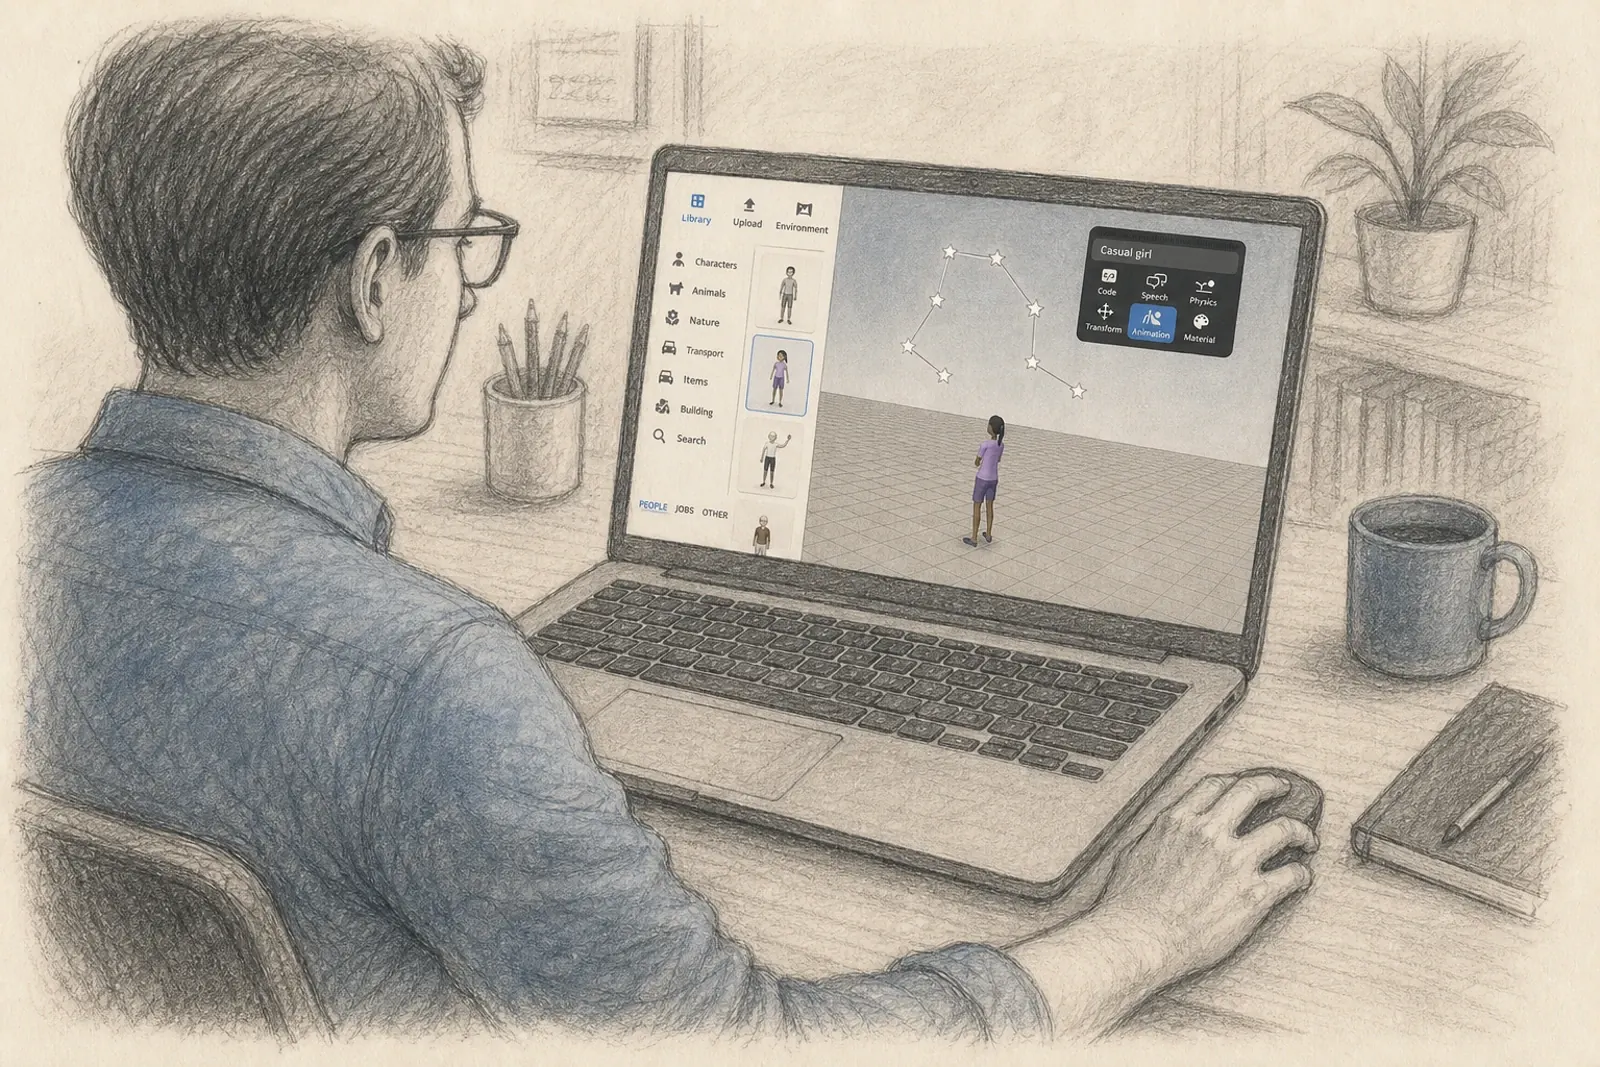
We do constellations online in a shared 3D space called Delightex. You’ll see a floor with figures standing on it, and everyone in the session is looking at the same scene at the same time. If you’ve never opened it before, this page is everything you need. The basics take only a few minutes to get comfortable with.
Two things before the instructions. You don’t need to be good at this, and nobody is watching your mouse. And if you’re the one bringing an issue, the section directly below is the only one you need.
If you’re the one bringing an issue
Then you can put all of this down.
When it’s your constellation, you don’t need to operate Delightex at all. You talk with the facilitator, you watch what’s set up, and you say what you see and what happens in you while you watch. Someone else moves the figures. That’s deliberate: the point is that you get to look at your own system from the outside for a while, and that is much harder to do while you are also managing the scene.
So read this guide for the sessions where you’re representing for other people. On your own day, all you have to do is arrive, watch and tell us what you notice.
Getting an account
Delightex is free for what we do with it, and you join as a student, not as a teacher. That word is simply how the platform labels accounts; it doesn’t mean anything about you. You may also see it called CoSpaces in older material, including some of ours. Same tool, earlier name.
You’ll get a class code from us before your session. Go to edu.delightex.com/Auth, create your account there, and enter that code to join the class. Once you’re in, you’ll see the space we’re working in listed under your assignments.
Two things go wrong here often enough to be worth naming. If you sign up with one email address and later log in with another, you may appear as a second account, and the account you’re using may not be in the group. Use the same address throughout, and tell us if you’ve switched. And if you can see the class but no space inside it, you probably haven’t been added to the group yet. Message us and we’ll add you.
Do this a day or two before, not five minutes before. Then the session starts with your question rather than with technical support.
Moving the camera
This is the part that feels strangest and stops feeling strange fastest. You aren’t moving through the space. You’re moving a camera that looks at it, the way you’d walk around a table to see a model from another side.
- Click and drag to rotate your view around the scene.
- Scroll to zoom in and out.
- Hold the space bar and drag to pan: the whole view slides sideways or up and down.
- Hold the space bar and scroll to zoom towards wherever your pointer is sitting.
- Press V to centre the view on whichever figure you’ve selected.
- Press C to pull back and see the whole scene again.
- Press + and - to zoom in and out from the keyboard.
If you only remember two of those, remember C and V. C is the one that rescues you when you’ve rotated yourself into a corner and can’t tell where anything is, and it’s the one I use most. V takes you straight to the figure you’re working with, though it is a little buggy: if nothing happens, press it again a couple of times.
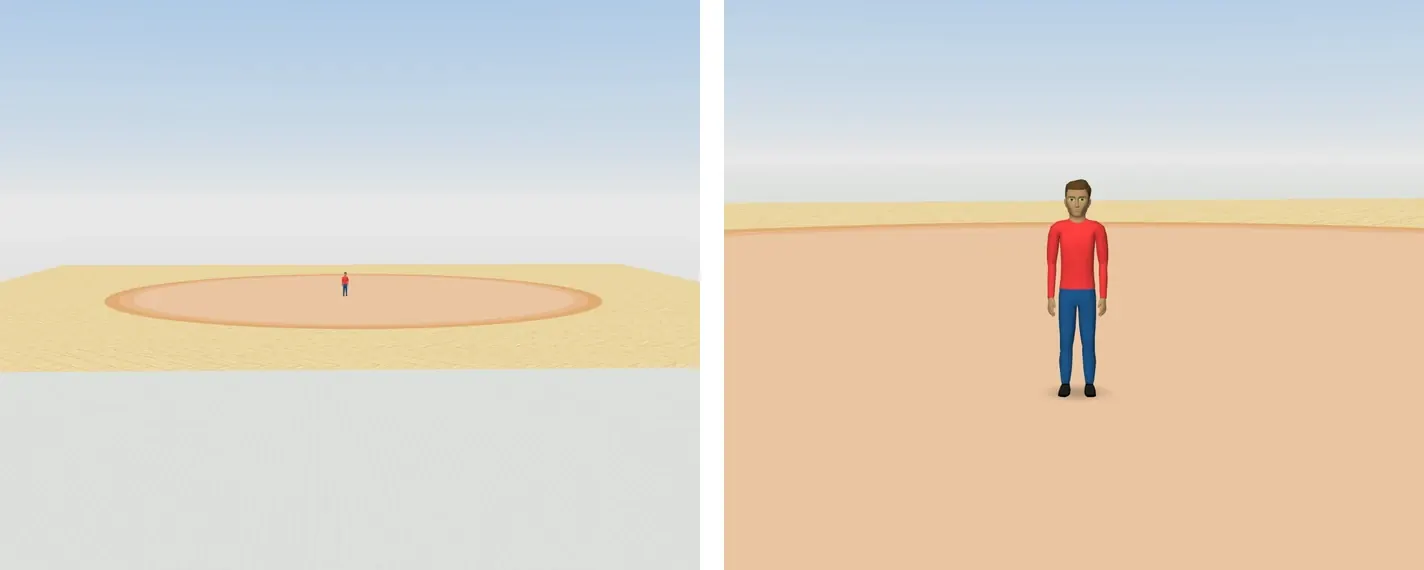
Your camera is yours. Where you’re looking from doesn’t change what anyone else sees, so you can move it freely without disturbing the session. When you’re representing someone, it can help to position the camera roughly from your figure’s point of view, so what you see is close to what that figure would see.
Placing and moving a figure
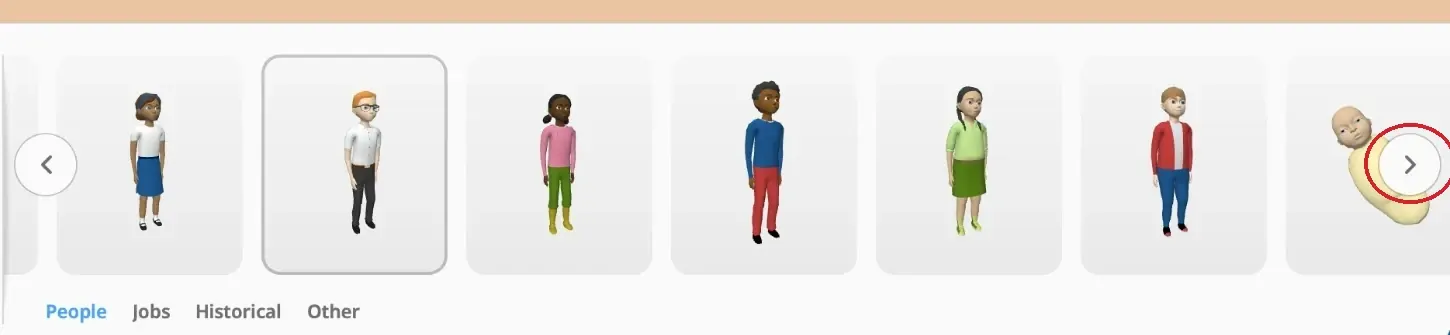
To place one: open the library of figures in the bottom left corner, pick one, and drag it onto the floor. The row is ordered by age and opens on the children, so unless you want a child, use the arrow at the right-hand end of the row to scroll along to the adults first.
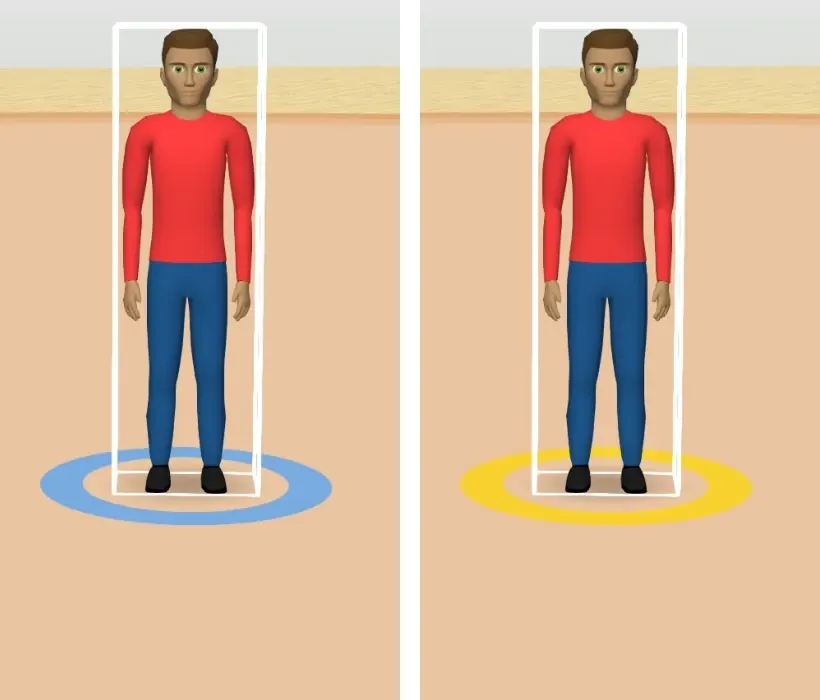
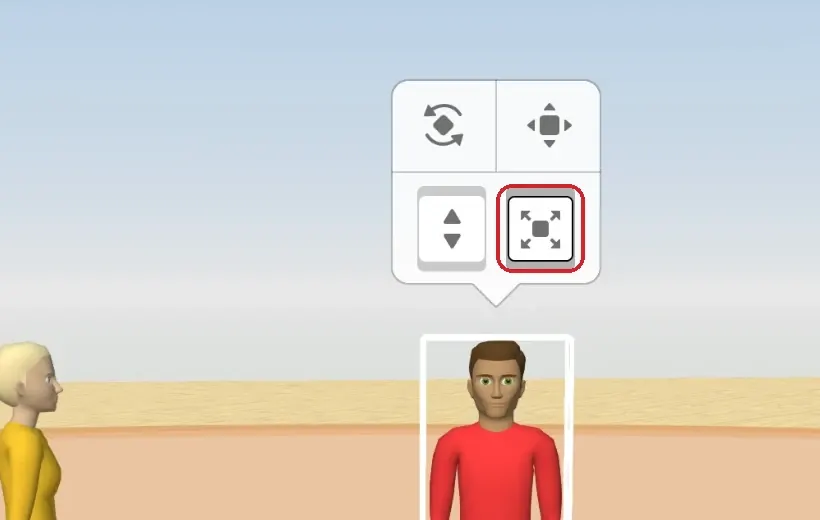
To select one: click it. A small white menu of four buttons appears above it. One click, or a left click, always gives you that white menu, and it is the one that lifts and resizes. Two clicks, or a right click, gives you the black menu instead, which is where colour and posture live.
To move it: click and drag it across the floor.
To turn it: look at the blue circle at the figure’s feet. Hover over it and it lights up yellow. Click and hold the yellow circle, then drag to rotate the figure on the spot. Which way a figure faces matters as much as where it stands, so this one is worth a minute’s practice.
To lift or lower it: select the figure so the white menu appears, then hold its lower left button and drag. This is how a figure is raised above the floor or set back down on it.
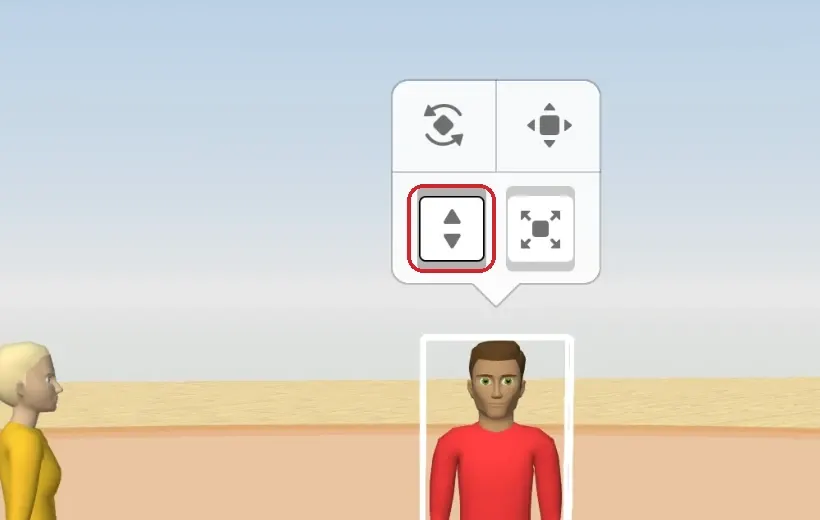
To resize it: same white menu, hold the lower right one and drag. Use this sparingly. If a figure is simply too small to see, zoom your camera in rather than making the figure bigger. Size is part of the picture: a figure that towers over the others is saying something, and you don’t want to say it by accident while trying to get a better look.
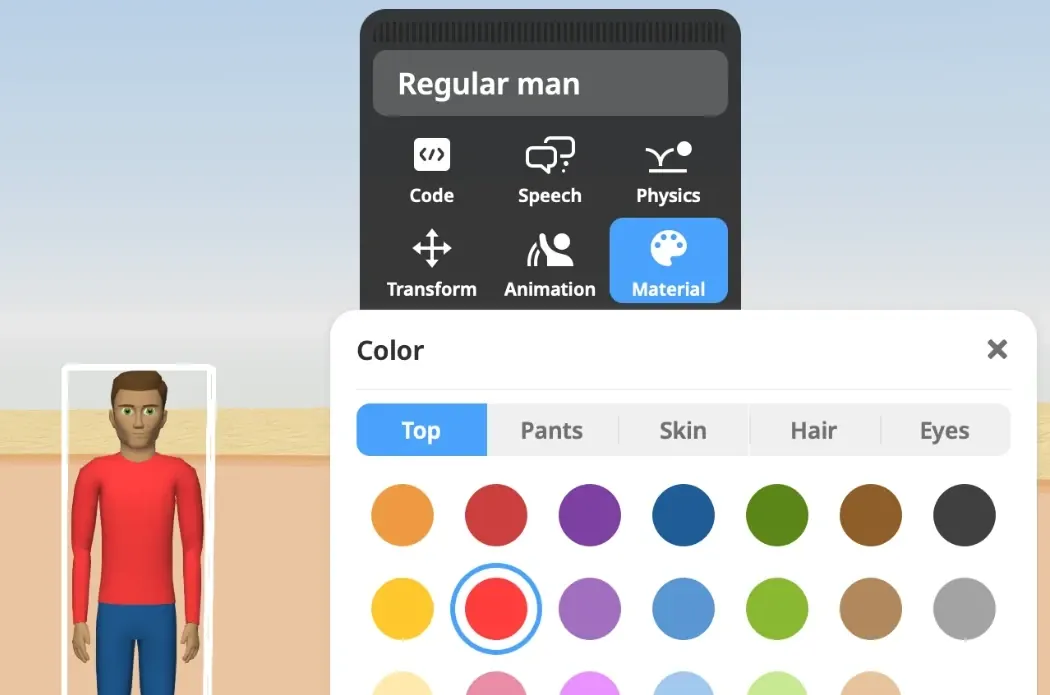
To change how it looks: double-click or right-click the figure to open the black menu. Material, the palette icon, changes colours: top, trousers, skin, hair, eyes. When you place a figure for a real person, you can adjust skin, hair or clothing so it resembles them a little. Though this is optional. It doesn’t need to be a likeness. As long as we know who the figure is representing, we can work.
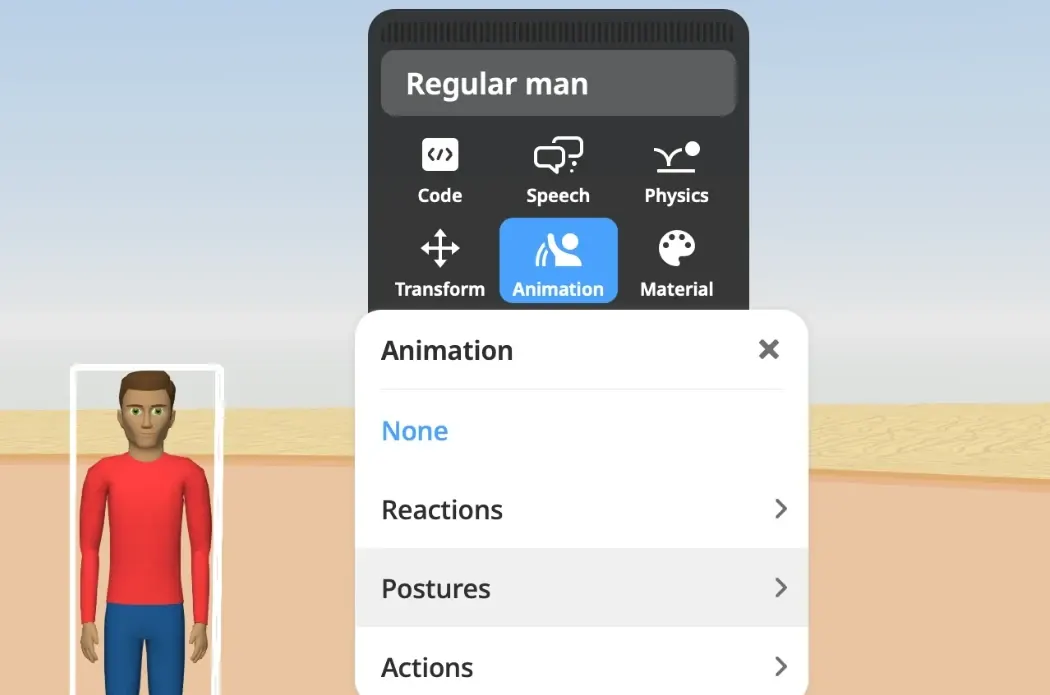
To change its posture: same black menu, Animation in the middle, then look under postures or actions in the drop-down. Sitting, kneeling, lying down, arms raised. Posture can matter in the picture. However, if you'd rather not fidget with it, expressing your movement or action works just as well.
When you move your figure, move it slowly, and avoid moving through other figures. In a room you would not walk through someone either.
What actually happens when you represent
Here’s how it goes in practice. Someone brings an issue, and at some point they’ll ask whether you’d be willing to stand in for someone in it: a father, a sister, a country, a company, an illness. You say yes or no, and no is a complete answer.
If you say yes, you choose a figure from the library. Not the correct one, because there isn’t one. Just the one that feels right to you for this. No need to spend a minute comparing them. Then you place it on the field, roughly where you’re drawn to put it, facing the way you’re drawn to face it.
After that, your job is what it always is in a constellation: notice, and report. How it is where you’re standing. Which way you want to look. Whether you want to be closer to someone or much further away. Say it plainly and in the first person. You don’t need to think about what you report, and it does not have to make sense. An honest sensation usually tells us more than a processed thought.
When you’re asked to move, move the figure slowly and stop when the new position feels right rather than where you had planned to put it. You may be asked to change a posture, or to turn and face someone. You can decline anything, and you can step out of a role at any moment. At the end, the role is explicitly closed so you can step out of it and return to yourself.
You genuinely cannot do this wrong. Feeling nothing is also a real report.
If something goes wrong mid-session
Say so. Out loud, in the moment, so we can help you. If your screen freezes, if you’ve lost the scene, if you’ve zoomed somewhere strange and can’t find your way back, just say it. Press C first. Often that is enough to reset your view. If it doesn’t work, tell us and we’ll wait for you.
A technical hitch is usually recoverable. What makes it much harder is sitting quietly for twenty minutes pretending you can still see. If something has gone wrong, say it immediately and we can deal with it.